Shabby

Wednesday, January 15, 2014

CCL ARTFUL CREATION CONTEST: Altered Dress Form (Project #2)

Got knocked off my feet last week by a stomach bug and then lost my creative spark so this took forever to complete. After dismantling it a couple of times (and with some help from my 9 year old and his growing artistic eye) I managed to finally finish this today.

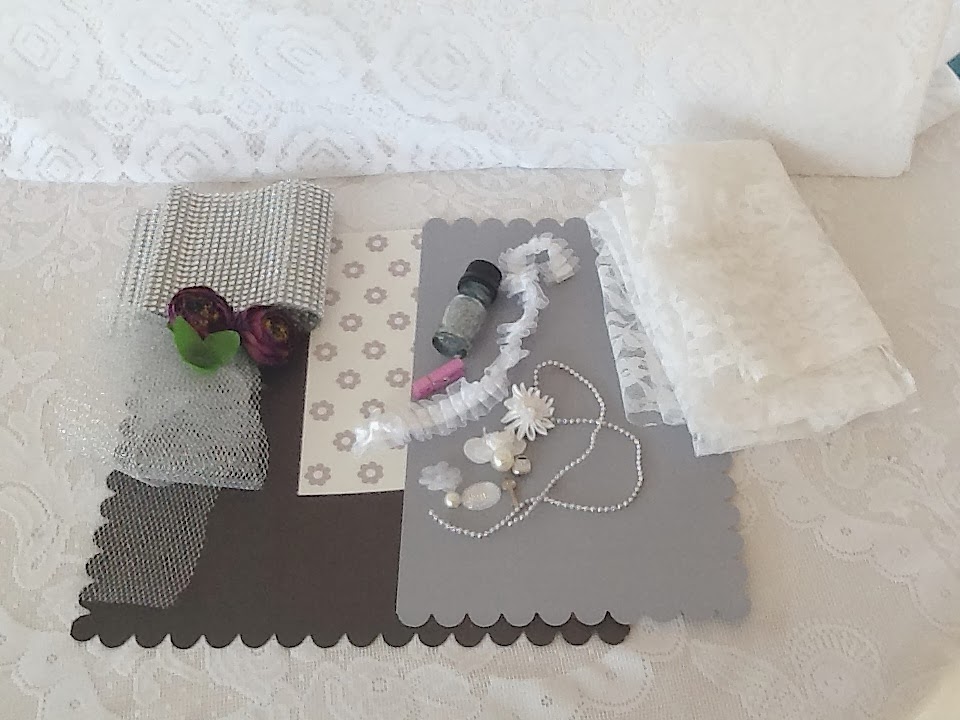
These are the items I used from the box that Lucky sent me:


 And this is the end result. I wanted the dress form to be
functional, so I attached a clip to the top to hold
a small monthly calendar and a few mementos.
The pretty lady in the photo is my mom. She would have
looked smashing in a dress like this! :-)


I gave everything a white wash with some gesso 
just to soften the lines a bit.
This is where my 9 year old helped out.
I originally had this grey pleated skirt on the left side of the dress.
He told me it looked uneven. He was right! :-)


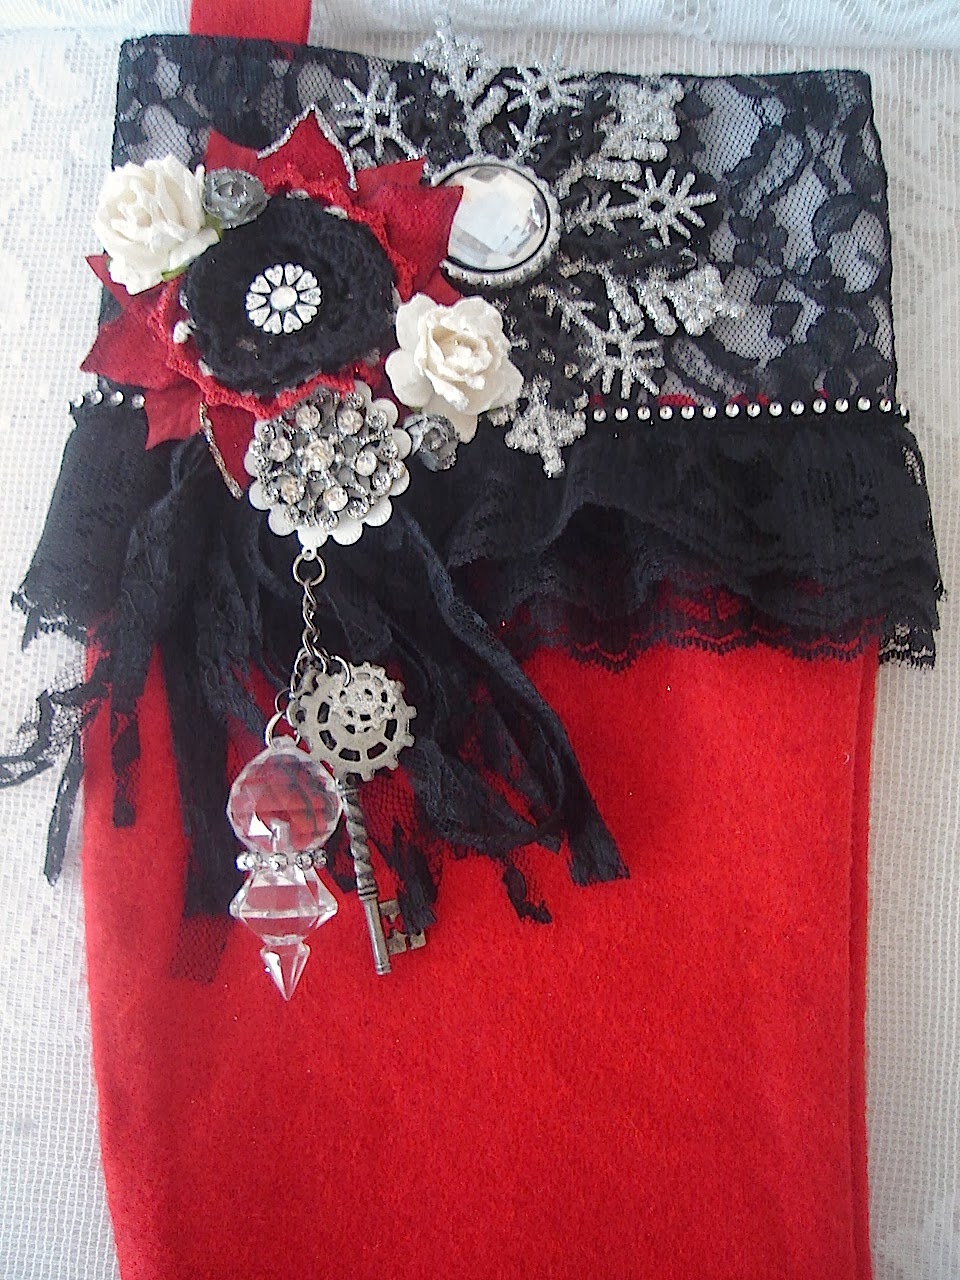
Close up of the skirt. I made the flower with the large
pearl using my flower punch and the brownish
cardstock Lucky sent in the box. 
The rest of the flowerscame from the box.
Hard to see, but the charms dangling from the skirt are a 
purse and a key. The leaves were originally green,
but I used the fine silver glitter to bling them up
a bit and to match the color scheme. 


Backside. I ran a stitch through the lace and the silver mesh,
then gathered to give it volume. 

Happy with the way this turned out. Now on to Project #3!!!

Blessings,
Millie


Monday, January 6, 2014

CCL ARTFUL CREATION CONTEST: Altered Valentine Spool (Project #1)

Creating the Crafty Life is hosting a fantastic contest this month! 25 participants were sent a box of crafty goodies all the way from India (thanks Lucky!)! Everyone essentially received the same items, just in different colors. The challenge is to use the items in the box to create at least 3 projects. The members of the CCL Ning site will vote to determine the winners. Thanks to Misty (MB Treasurista) for providing the prizes for this fun contest!

This is what I received in my box:


As soon as I opened it, my wheels were turning. I immediately pulled out the items below for the 1st project:


And this is my 1st entry:

A Valentine Spool!

I used elements from Graphic 45's Place in Time collection (February Cut Aparts). I made the spool using two round coasters and a TP roll. I purchased the pretty red velvet ribbon from Michael's, last year after Christmas. 

I took half of a clear plastic heart ornament and covered it with some of the pretty gold metallic mesh fabric that Lucky included in the box. After I attached the lovely lady, the stamps, and the "Kisses" sentiment, I propped it up in the very large and lovely red velvet rose that came in the box. I glitzed up the small wooden cherubs with the iridescent glitter that was in the box and attached them on either side of the image. 

The stick pins were created from beads that also came from the box. The pretty pink flower was coffee stained to give it a more vintage look. I attached another bead from the box in the center of the flower. 

Lucky also included a lot of different charms so I combined three of them (a heart, a key, and some pink faceted beads) and attached them to the front. It's hard to see, but behind them are a couple of sheer white flowers, also from the box. 

The bases of the spool were covered with some gold glitter paper. It already had adhesive on the back so it was a breeze to attach. The pearl trim was also self stick and I placed it around each base to finish it off. The brown ruffle trim reminded me of Valentine chocolates so I placed it at the top and bottom. 

I LOVE how this turned out. Win or lose, it was a fun project! Now on to Project #2!

Blessings,
Millie


Friday, January 3, 2014

Beach/Ocean Theme Altered Canvas

Created this canvas as a New Year's gift for a very special young lady.

According to her mom, she loves the beach
so the theme was easy to pick. 
For this canvas, I mostly used 

I stamped the Bible verse on acetate using 
StayZ On ink in Jet Black and adhered it to a frame
die cut from a Spellbinders die.


I did a lot of "fussy cutting" to achieve a dimensional look. 
The "Believe" sentiment is, once again, from my friends at 
I inked it with greens and blues, white washed it,
then embossed it with clear embossing powder. 

Prayed for this young lady all the way through this project. I'm confident the Lord has great plans for her in 2014. :-)

Blessings,
Millie

Masculine Shadowbox for Hubby

Created this very special shadowbox for my husband for Christmas this year.

I used a 6"x6" black shadowbox by 7 Gypsies. 
I wanted the objects to represent who my husband 
is and some of his interests. 

Love this photo of him with the boys. 
The corner piece is from my friends
at Stay True to God. Found the dimensional 
Bible sticker at Goodwill for mere pennies.
The gears and cogs are from 
various sources. 

 The side cubbies hold things that relate
to my husband: where he's been, his love
of games (especially chess), his
engineering background,
 and, of course, his faith in Christ.

HAPPY NEW YEAR!!!
"Forgetting the past and looking forward to what lies ahead..." (Phil. 3:14), press on and press in to the ONE who has blessed you with another year!

Millie


Monday, December 16, 2013

Graphic 45 Nutcracker Sweet Altered Compact

Without a doubt, one of my favorite parts of The Nutcracker Ballet is the Waltz of the Snowflakes (the best version is with Mikhail Baryshnikov, of course).


The scene is beautifully magical and I've been wanting to capture it in some way. Recently, I was about to toss out some used makeup when I noticed a bit of sunlight from the window was illuminating the translucent blue plastic of the compact. 


I'm not sure if that counts as heavenly inspiration, but I immediately saw teeny tiny snowflake ballerinas dancing inside that little case. Below is the end result.


For this project, I used the Snowflake Waltz paper from 
Graphic 45's Nutcracker Sweet collection.

I filled the bottom with lots and lots of Aleene's Glitter Snow Paint.


I also used a VERY liberal amount of Stickles. :-)


Love how the mirror reflects the scene!

This past weekend was a snowy one in our neck of the woods so it was the perfect time to work on this project! 

Christmas Blessings to You and Yours,
Millie


Sunday, December 8, 2013

Christmas...Thing-A-Ma-Bob

I'm selling some of my craft items at my church's women's Christmas tea this year. Below are some simple minis I created. There's also a spot to hold a gift card and write a sentiment. Wasn't sure what to call this creation so, for now, it's a "Christmas Card/Gift Card Keeper/Mini Album Thing-a-ma-bob".

If any of you can come up with a more clever (and shorter) name than that, leave a comment. :-)

I'm working on some other items too and will post them soon.

Since it's kind of a mixed audience at the tea, I thought 
I'd keep everything in the traditional colors
of Christmas

This was the first one I created and probably my
favorite. The base of the "thing-a-ma-bob" 
is made from 1 sheet of 12"x12" cardstock.

Each one has the same layout, just different papers. 
I used a Christmas stack from Recollections for this one.
On the right is a place to write a personal note.

Unfold it again and there's a spot for a gift card....

.....and unfold it again, and there's some spots for
some memorable Christmas moments. 

Believe it or not, the DCWV paper stack I used for this one
was found at (Can you guess????)
YUP! My local Goodwill for $2!

Love that Santa paper! The pad came with a couple of
sheets of journaling tags too.

Spot for the gift card (need to use that Starbuck's card...)


....and the spots for photos. 


These were super easy to make and can be adapted to any holiday or occasion. 

Blessings,
Millie

Wednesday, December 4, 2013

Altered Christmas Stockings and Matchboxes

My two younger sisters mean the world to me. I miss our childhood Christmases together. So many wonderful memories of secretly searching the house for our gifts or quietly staying up, listening from the upstairs hallway of our house until our parents went to bed so we could tiptoe down to see what was under the tree.

We live miles apart now and Christmas get togethers are a little more difficult. They live down South, not far from our mother. In recent years, she's needed more and more attention and care and my sisters have done a wonderful job of looking after her. This year, I wanted to express my thanks and appreciation, in a very special (and crafty) way, for all they have done. They've given so much of themselves to care for her, oftentimes following a full day of work and caring for their own families. To Monika and Amy, know that all you have done and are doing doesn't go unnoticed. I love you both. Merry Christmas.


Our local Goodwill had a HUGE tote filled with 
these stockings. Each was marked .49 cents.
I knew exactly what I wanted to do with them. 

 My sisters have very different tastes so I wanted
to reflect that in the way I altered the stockings.

My sister, Amy, is a lover of all things PINK!
This is her stocking. 

All the trims and embellies came from
things I had on hand. Really love 
how this turned out. It's so girly!

If Amy is a little bit shabby, I'd label my 
sister, Monika, a little bit rock and roll!
I think I captured her spunky person-
ality here. :-)

This isn't my style AT ALL, but I really had 
fun altering this for her. I made sure to 
bling it up quite a bit!

I also altered a couple of small matchboxes
to match their stockings.

Since they live in the South and don't
usually see snow, I thought I'd 
send a little their way. :-)

Backside of Amy's ornament. 

Inside of Monika's ornament.

And the backside.

Love how these turned out. Hope they like them! Merry Christmas All!!!

Blessings,
Millie